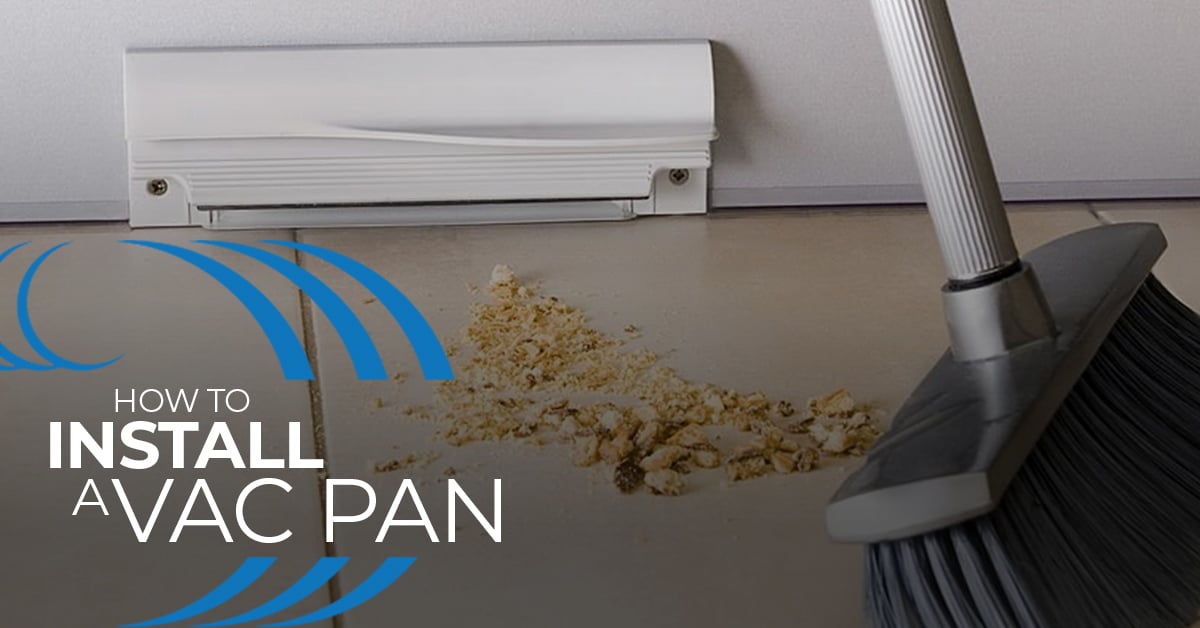
How To Install A VacPan?

How to install a VacPan

Before installing your VacPan, here are some tips to consider:

  • Plan the location of your VacPan to be conveniently located for sweeping clean-ups. Also consider ease of access of vacuum tube piping connections during installation. 

  • The leading edge of the VacPan must sit flush with the finished floor. 

  • For maximum clearance, use a short 90° Elbow for connection to VacPan.

  • DO NOT glue the connection between VacPan and Elbow, to allow for future removal. 

  • Prior to final installation, check for an airtight seal between VacPan and Elbow. Teflon tape may be used of required. 

  • Allow for 1/2″ vertical play in vacuum tube piping at VacPan location, so that final piping connections can be made. 


Under Cabinet Installations

  • The Automatic Dustpan requires a minimum 3 1/2″ toe kick height.

  • Once the Automatic Dustpan location is determined, cut a 6 3/4″ long x 1 3/4″ high slot in the cabinet toe kick to accept the VacPan. 

  • Run the vacuum tube piping and low voltage wire from the main piping line to the VacPan location.

  • Access for final piping connections must be made. 

    • Access from Below
      If access is available from below, cut an access hole through the subfloor underneath the cabinet, positioned so that final piping connections can be made by reaching through the access hole.

    • Access Through Cabinet Floor
      Access can be made through the finished cabinet floor. Cut a 2 3/4″ x 3 1/2″ access hole, positioned so that final piping connections can be made by reaching through the access hole. 

    • Access Through Cabinet Toe Kick
      Access can be made through the cabinet toe kick by cutting up to a 10 1/2″ x 4″ slot and using the Automatic Dustpan Quick Trim Cover Plate. If required, score the back of Quick Trim Cover Plate with a knife and snap along grooves for height adjustment.   

  • Attach low voltage wires to Automatic Dustpan terminal connections marked “low voltage only”.

  • Slide Automatic Dustpan into mounting slot and secure to toe kick using two #6 screws provided. 

  • Reach through access hole and make final piping connections.  


In Wall Installation 

  • The VacPan can be installed between wall studs inside walls.

  • The VacPan should be located tight to one side in stud space.

  • Once the VacPan location is determined, cut a 6 3/4″ long x 1 3/4″ high slot in the wall and baseboard to accept the VacPan.  

  • The 2×4 wall bottom plate between the two studs must be removed. This can be achieved from below using a hole-saw. In new home construction, the bottom wall plate can be removed directly. A 6 3/4″ length of 2×4 can be used as a temporary rough in block that will force all trades to finish around, leaving a slot for the VacPan floor contractor must run flooring under block.

  • Run vacuum tube piping and low voltage wire from the main line to the VacPan location. 

  • Access for final piping connections must be made.  

    • Access from Below
      If access is available from below, cut an access hole through the subfloor underneath the wall between the studs, positioned so that final piping connections can be made by reaching through the access hole.

    • Access Through Wall
      Access can be made through the finished wall. Cut a 2 3/4″ x 3 1/2″ access hole, positioned so that final piping connections can be made by reaching through the access hole. Allegro Part No. ZAS002 Temporary Cover Plate can be used to cover the hole after installation. 

  • Attach low voltage wires to VacPan terminal connections marked “low voltage only”.

  • Slide VacPan into mounting slot and secure to wall using two #6 screws provided.  

  • Reach through access hole and make final fitting connections.

Share

More Posts

Send Us a Message

Homewave Logo

Unleash your potential with Homewave by becoming a Dealer

Our home automation products are at the forefront of technology, offering a blend of convenience, security, and efficiency. As a Homewave dealer, you’ll be part of a network transforming homes into smart, futuristic spaces.

Embark on this rewarding journey with us and leverage the power of innovative technology.

Please fill out this form and become a Homewave Dealer.

Become A Dealer

Join Us and Become An Authorized Homewave Central Vacuum Dealer

Large House

Large or multi-story homes

Medium sized house icon

Two-story homes or medium to large-sized homes

Small sized house

Smaller homes such as apartments, condos and townhouses